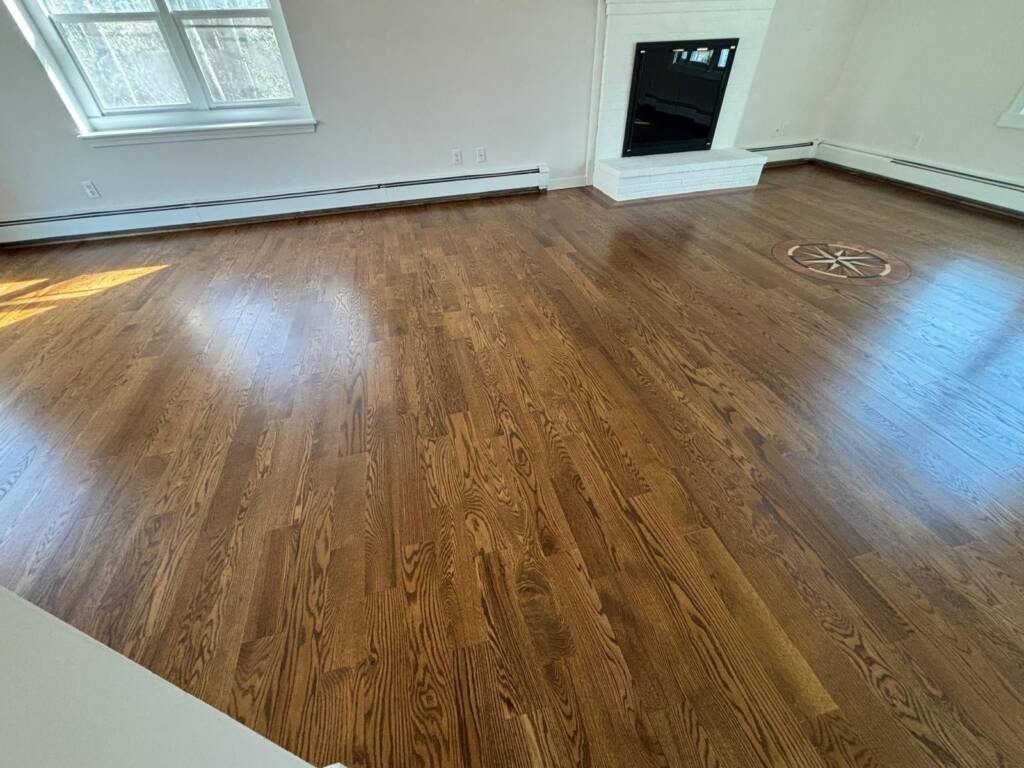
Installing new flooring is one of the most impactful home upgrades you can make. It can transform the look, feel, and function of a room almost instantly. But if you’ve never gone through the process before, it’s natural to have questions. How long will it take? Will your home be turned upside down? What should you do to prepare?
This step-by-step guide will walk you through what to expect during a typical floor installation — whether you’re choosing hardwood, laminate, vinyl, or tile — so you can be ready and stress-free on installation day.
Step 1: Initial Consultation and Measurement
Before any materials are ordered or tools come out, a flooring specialist will visit your home for an initial consultation. During this phase, they’ll:
- Evaluate the condition of the subfloor
- Measure the rooms where the new flooring will be installed
- Discuss your design preferences and lifestyle needs
- Help you select the right flooring material
You’ll also get a cost estimate and timeline for the project at this stage.
Tip: Have photos or examples ready of the look you’re going for. The more information you provide, the smoother the planning process.

Step 2: Preparing the Space
Preparation is key to a successful installation. A day or two before work begins, you’ll need to:
- Remove furniture and decor from the installation area
- Disconnect appliances and electronics
- Clear out closets or cabinets if they’re being floored
- Secure pets in a safe, quiet area of the house
Depending on the type of flooring, you may also need to:
- Remove baseboards or moldings (installers can usually handle this)
- Allow materials like hardwood to acclimate to your home’s environment for 48–72 hours
Step 3: Old Floor Removal
If you’re replacing existing flooring, the next step is to remove the old material. This can be simple or complex depending on what’s currently down:
- Carpet is relatively easy to tear up
- Tile or glued-down vinyl may require more labor and special tools
- Hardwood often needs careful removal if you plan to salvage it
After removal, installers will clean and inspect the subfloor to ensure it’s level, dry, and structurally sound.
Step 4: Subfloor Preparation ( OPTIONAL, seldom needed )
The subfloor is the foundation for your new flooring, and it must be in good condition. Depending on what the installers find, they may need to:
- Patch or fill holes and cracks
- Remove debris or adhesive residue
- Sand down uneven spots
- Install underlayment or moisture barrier (especially for laminate, vinyl, or floating floors)
This step is crucial for preventing future issues like squeaking, warping, or shifting.
Step 5: Floor Installation
Now the actual installation begins. The process will vary depending on the material:
- Hardwood: Planks are nailed or glued down piece by piece
- Laminate & Vinyl: Often installed as floating floors using a click-lock system
- Tile: Mortar is applied and tiles are spaced and leveled before grouting
This part of the job may take anywhere from one day to several days, depending on the size of the space and complexity of the material.

Step 6: Finishing Touches
Once the flooring is down, the crew will handle the final details, including:
- Installing baseboards or transition strips
- Cleaning up debris and leftover materials
- Inspecting the floor for quality assurance
For certain materials like hardwood or tile, there may be an additional wait time for finishes to dry or set.


